Know Ways to Switch data from OST in Outlook PST
A wide number of users eagerly waiting to know how to convert OST to PST proficiently?
OST stands for Offline Storage Table and PST is Personal Storage Table. Both these are the data storage files of Outlook. OST Files supports saving data in the offline mode and store in MS Exchange Server. The OST file supports working in the absence of a server connection. Whereas PST (Personal Storage Table) files to store data in the user's local system.
Get Professional OST to PST Converter
Convert your OST files to PST format safely and efficiently
Why import OST to PST?
Many reasons cause the import of OST into PST. Here are some of the most possible causes behind this requirement:
- When it is an Exchange server crash, system damage, or virus attacks, you won't be able to connect with the MS Exchange server. Here PST files can be easily handled otherwise your work will get hampered in such situations.
- You can easily port PST files. In an organization, data files are easily migrated when stored in a PST file.
- You can easily port PST files. In an organization, data files are easily migrated when stored in a PST file.
- In other situations where OST into PST works includes Exchange server maintenance, Outage, Exchange downtime, etc.
How to perform OST PST Conversion?
The article aims at providing you all the ways of converting OST to PST conversion. There are manual methods and professional solutions i.e. third-party software for making this conversion. Let us know about them in detail:
Manual Methods
First Method-Import and Export as PST File
- First, Open Outlook email application.
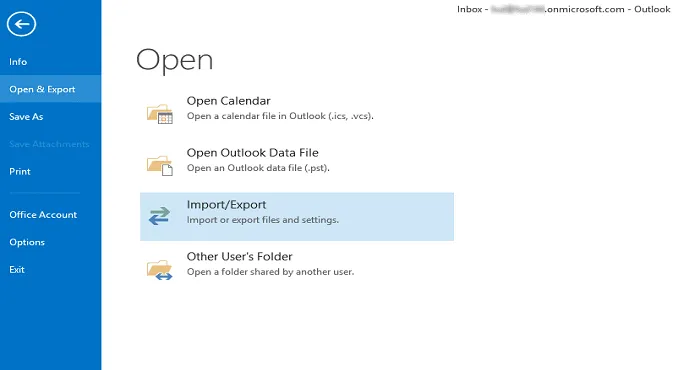
- In the next step, click on File Menu in the left corner and select Open and Export Option then Import/Export.
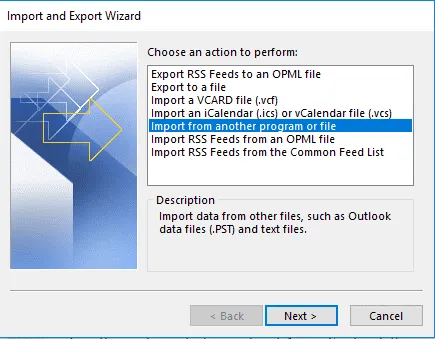
- You will find Import and Export wizard on screen. Select Import from another program/file. After this, click the “Next”.
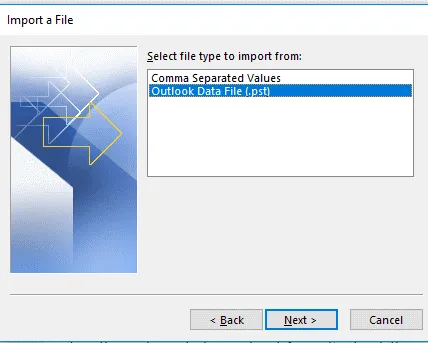
- Many options will appear for file types, choose the file type as “Outlook Data File (.pst)” and click the ‘Next’
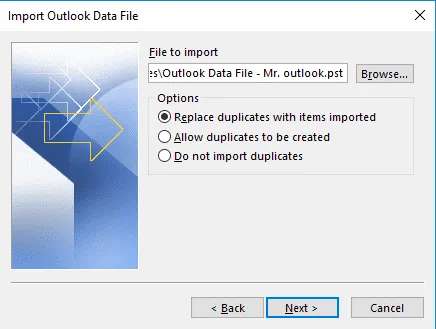
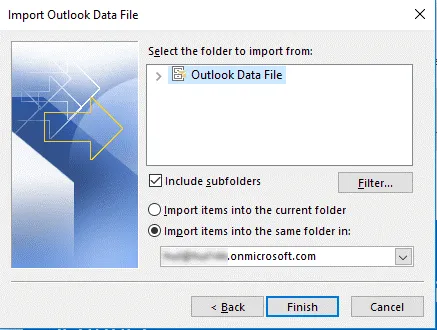
- Choose the File to Import along with the suitable option and click the Next.
- Now, choose the target destination and press Next.
- Next, import the Source File into the target folder and click on "Finish" button.
Second Method-Using "Archive"
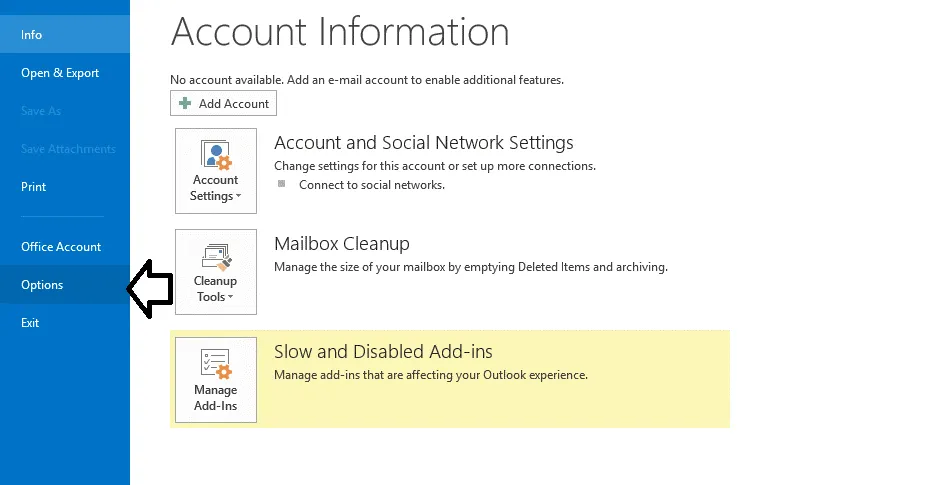
- First, open Microsoft® Outlook and click "File Menu".
- Next, click on "Options".
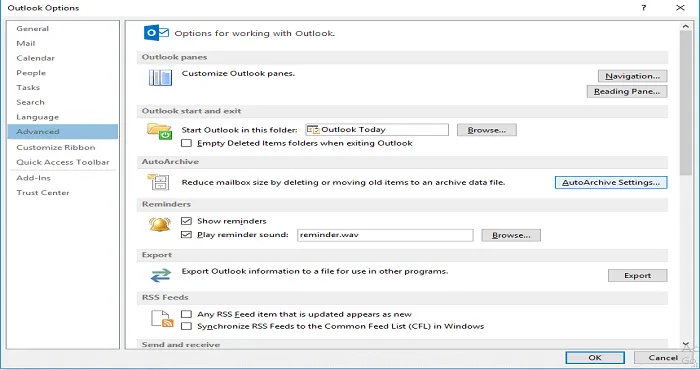
- After this, click on 'Advanced' and navigate to the Auto Archive Settings.
- In the next step, you are supposed to provide the number of days to run the auto-archive.
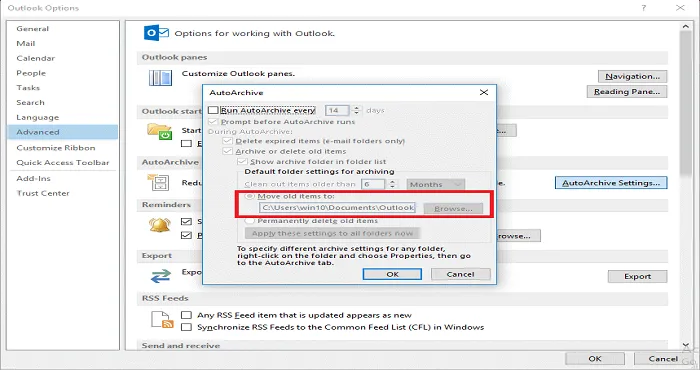
- Choose the location to save the archive file by using the "Browse" button. and click "OK".
- By following these steps, the process will begin and mailbox items will get saved in a PST file.
Troubles with Manual Methods:
- The manual method does not export OST data.
- Such methods cannot even transfer Calendar Entries.
- You cannot trust such methods for repairing the damaged OST files and convert them into PST.
- The manual method is not useful for bulk conversion
- Manual solutions are tedious and time-consuming.
- There is data safety with manual methods.
Here is the Proficient way for OST to PST Conversion:
For smooth OST PST migration, using professional third-party software is a recommendation. Gaintools OST Converter software application is a one-stop solution for converting OST into PST. The application is loaded with superb features and some of them are as follows:
- The tool is reliable for performing OST PST conversion process.
- The tool maintains data integrity while making data conversion.
- It is supportive of almost all Outlook and Windows versions
- Converts OST files in PST and other popular file formats as well.
- The application maintains data hierarchy
- This application is not meant for a specific set of people. In fact, from technical to non-technical users, all can use it comfortably.
Step-by-step process to run the Software:
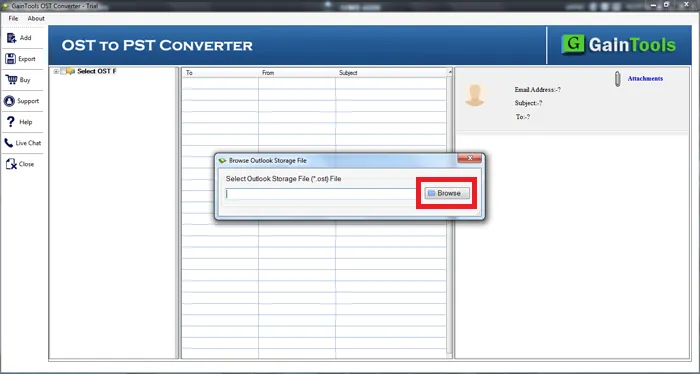
- Install Gaintools OST Converter software.
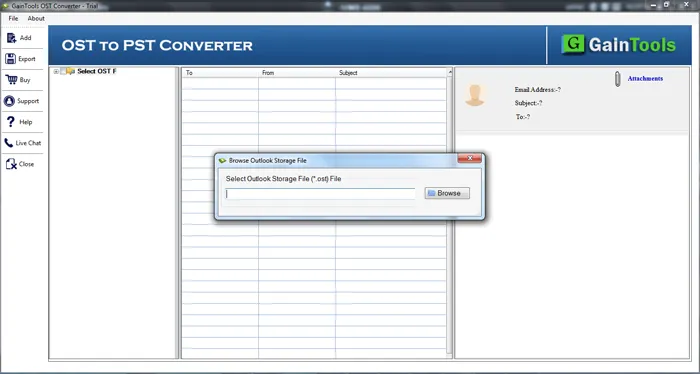
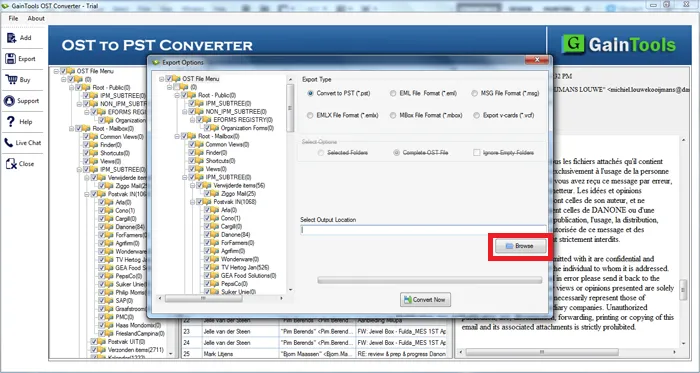
- In the next step, click the 'Browse' button. Add OST file.
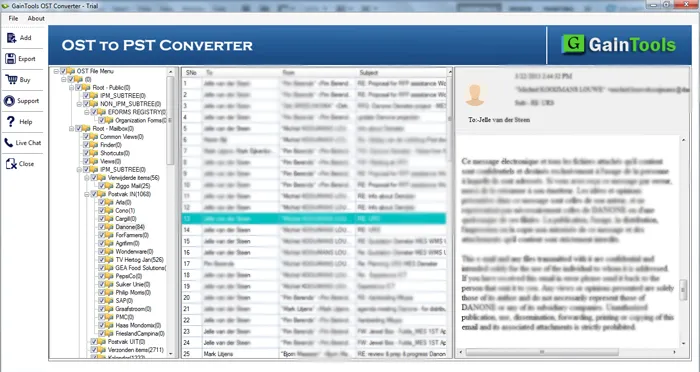
- Now, scan the OST file and get the preview of the OST files. Choose those items which you wish to export in PST.
- Next, select the file format in which you want to export your OST file
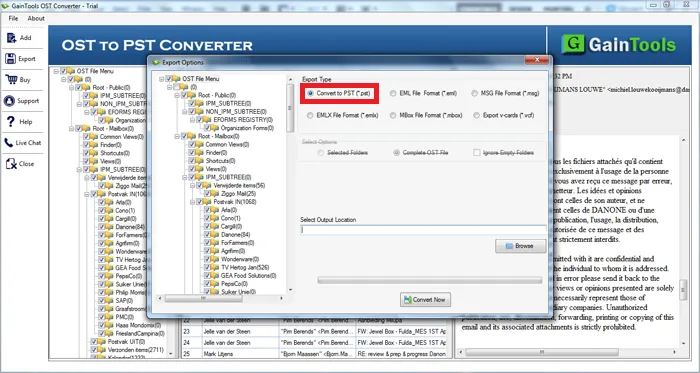
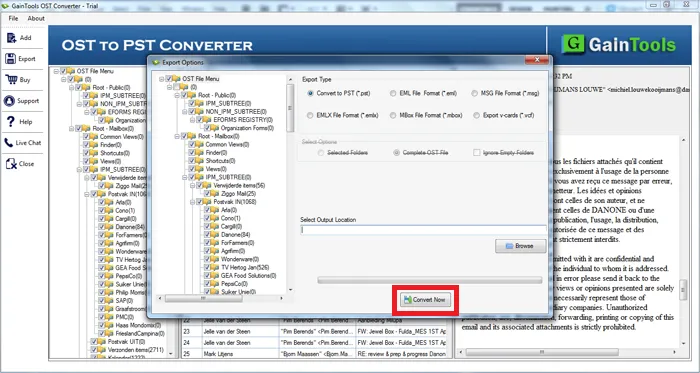
- Now, choose the location to save your PST file
- Towards the end, press the 'Convert Now' button and carry out the conversion of OST PST.
Conclusion:
There are several reasons for converting OST to PST. There are several ways for commencing easy and effective conversion. Although manual methods are available they have certain drawbacks and limitations. Due to troubles with manual methods, they are not preferred further. Drop the manual steps and choose Professional tools. OST Converter tool has various advanced features that move OST files into PST. The application comes with a bundle of features without any flaws. You can look forward to first use the freeware demonstration version to have an idea of working with the software.
Ready to Convert Your OST Files?
Don't let OST limitations hold you back. Get professional OST to PST conversion tool today!