Import OST to Gmail Without Outlook—Easy Methods
Outlook is the most trusted email client among home and business users. PST and OST are the file formats used by Outlook. Many times, users find a solution to import OST files into Gmail account.
Get Professional OST to Gmail Importer
Import your OST files to Gmail account safely and efficiently
How does OST file work?
OST is an offline Outlook data file that helps to synchronize a copy of mailbox information to your system. Working offline, you can use Outlook. Once the server connectivity is there, all the changes made to OST file will be synchronized to the server.
Now, let us focus on the main topic of this article i.e. How to import OST file to Gmail and know the methods to import OST to Gmail account.
Methods to import OST files to Gmail account
Users have manual as well as automated methods to import Outlook OST mailboxes to Gmail account. Let us know about both methods.
Import OST to Gmail manually
It is not possible to direct upload OST to Gmail account using a manual solution. For this, you need to first convert the file into PST format. Most of the time, your third-party email account (which have configured in Outlook) such as Gmail, AOL, etc. which save the data in OST file.
To import OST file, first locate the file. Below are the steps to locate OST file.
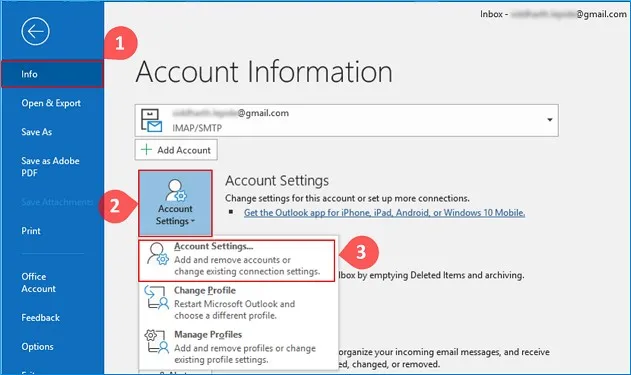
Step 1. Locate OST file
- Go to File menu, select Account Settings and again choose Account Settings.
- Go to Data files tab, select OST file and click on Open File location.
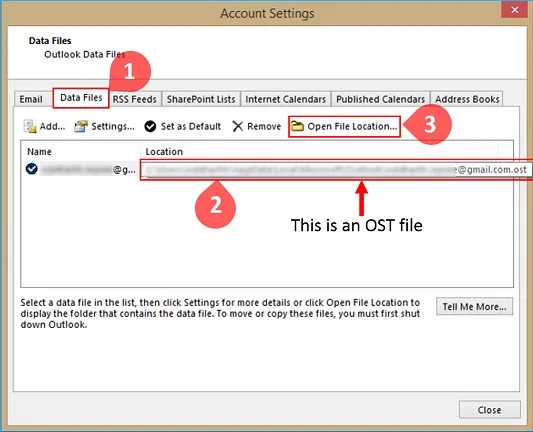
You can also find OST file with – C:\Users\user\AppData\Local\Microsoft\Outlook
Step 2. Export OST file as PST format
- Open Outlook and go to File tab
- Choose Open & Export and then select Import/Export
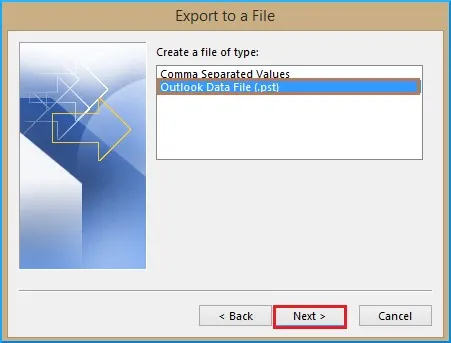
- Now, select Export to file option and press Next

- Select Outlook data file in Export File dialog box and hit Next
- Choose the required mail account and hit Next
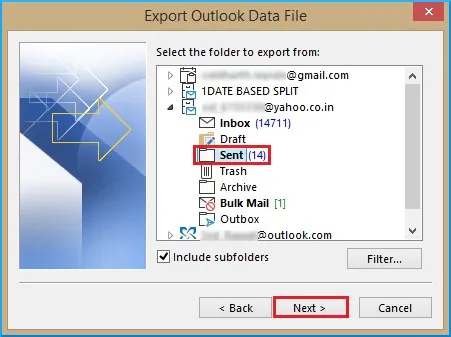
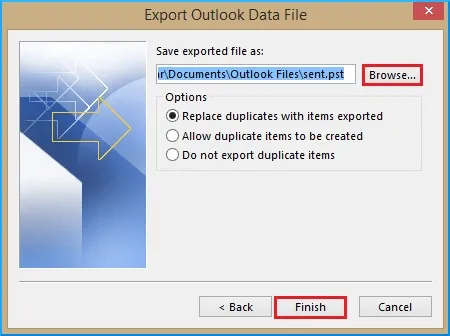
- Use the Browse button to save PST to any location and hit Finish
This is how OST file can be converted into PST format. Now, move it to Gmail account.
Step 3. Import the resultant PST using GSMMO into Gmail
To import OST data in Gmail account, use G Suite Migration for Microsoft Outlook (GSMMO) to import PST file to the user's Gmail account.
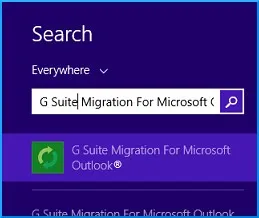
- Open any browser and search G Suite Migration for Microsoft Outlook and download it.
- Launch the application
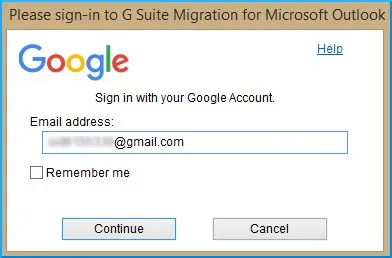
- Provide the login information and hit Continue button
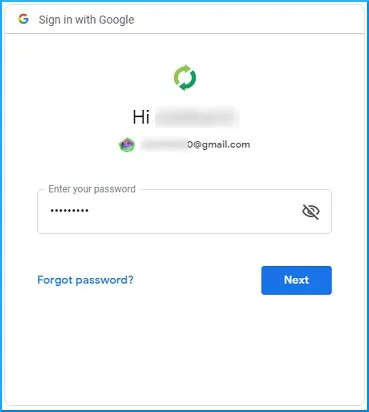
- This will open sign up the window, provide a password and hit Next
- In this window, click Allow to access your Gmail account by GSMMO application
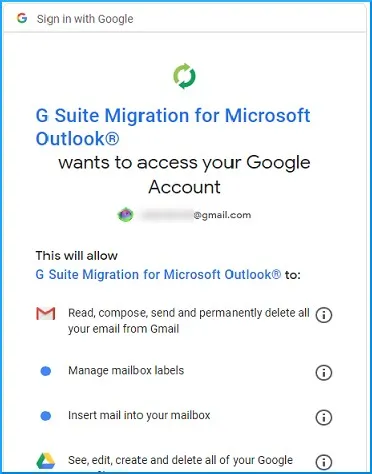
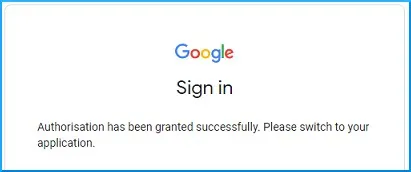
- You will see a confirmation message if everything is fine
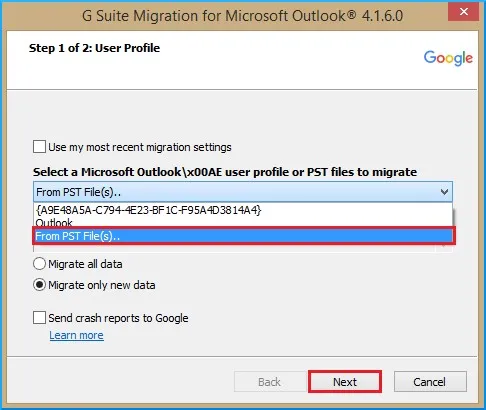
- Select From PST file option and click Next
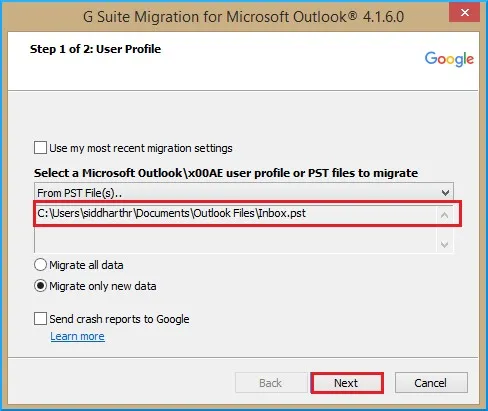
- You will be taken to the location of PST file. Hit Next.
- Manage the migration settings and click on Migrate once done.
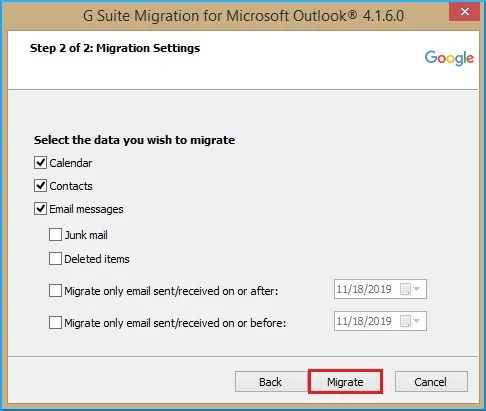
- This will start the migration process and based on the size of PST file, the process will take time. Once it is done, you will get a message of successful migration.
- Now, you can log in to your Gmail account and view the imported file in it.
A direct method to import OST files to Gmail account
The perfect and direct way to import OST mailboxes to Gmail account is using a third-party tool like Cloud Importer that directly upload OST file into Gmail account in a few simple steps. It is a brilliant application to bulk upload OST file to many Gmail accounts with the correct login details. You can smoothly import OST emails and attachments into Gmail account by maintaining the hierarchy of folders and subfolders. Additionally, there is no need for Outlook to import OST to Gmail account with this application.
Let us go through the steps with this application –
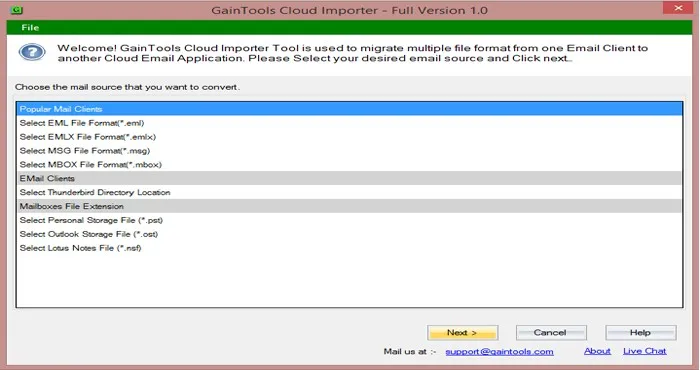
- Download and launch the software on your Windows system.
- Select OST format, choose File or Folder mode, and add OST files for import.
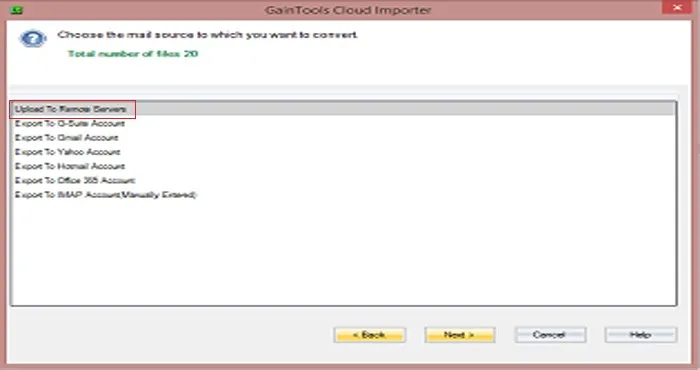
- Choose Gmail account in Export options where you want to migrate OST file.
- Then, enter login details of Gmail account – username and password and click on Authenticate User button.
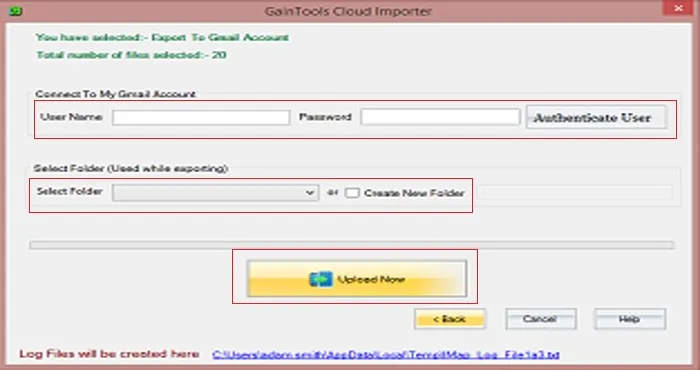
- Select folder of Gmail account used to import OST file. Users have the freedom to create a new folder for the same.
- In the end, hit Upload Now button and this begins migrating OST mailboxes to Gmail account. This will take a short time.
Concluding Lines
In this article, we have looked at GSMMO to migrate OST data to Gmail account. The process is lengthy and time-consuming therefore to save time and effort, we suggest a third-party tool that offers instant results and provides you a direct way to upload OST to Gmail account. The utility is equipped with multiple features therefore we suggest to use for smooth migration experience.
Ready to Import Your OST Files to Gmail?
Don't let OST limitations hold you back. Get professional OST to Gmail importer tool today!